Inevitably, chairs’ upholstery grows dirty with years of use. Patterns and colors cease to look fresh or in sync with current design trends and furniture styles. If you have an old chair whose bones are still in good condition, however, don’t throw it away just because its fabric appears dated. Instead, bring the piece back to life by reupholstering it.
How you approach this task will depend on the type of chair you’re working with. This guide will show you how to reupholster a simple dining chair, discuss how to handle more complicated ones and answer commonly asked questions about the process.
How to Reupholster a Chair Seat
Reupholstering the seat cushion of a dining chair is a perfect first project for a beginner, providing an introduction that will serve as a foundation for handling more heavily upholstered furniture in the future. Below are the basic steps and the materials you will need.
Materials Required
- Staple gun
- Fabric scissors
- Serrated knife
- Screwdriver
- Pliers
- Polyester batting
- 1- to 2-inch high-density foam (if replacing the cushion)
- Upholstery fabric
- Black cambric for the dust cover
- Measuring tape
Step 1: Remove Old Upholstery
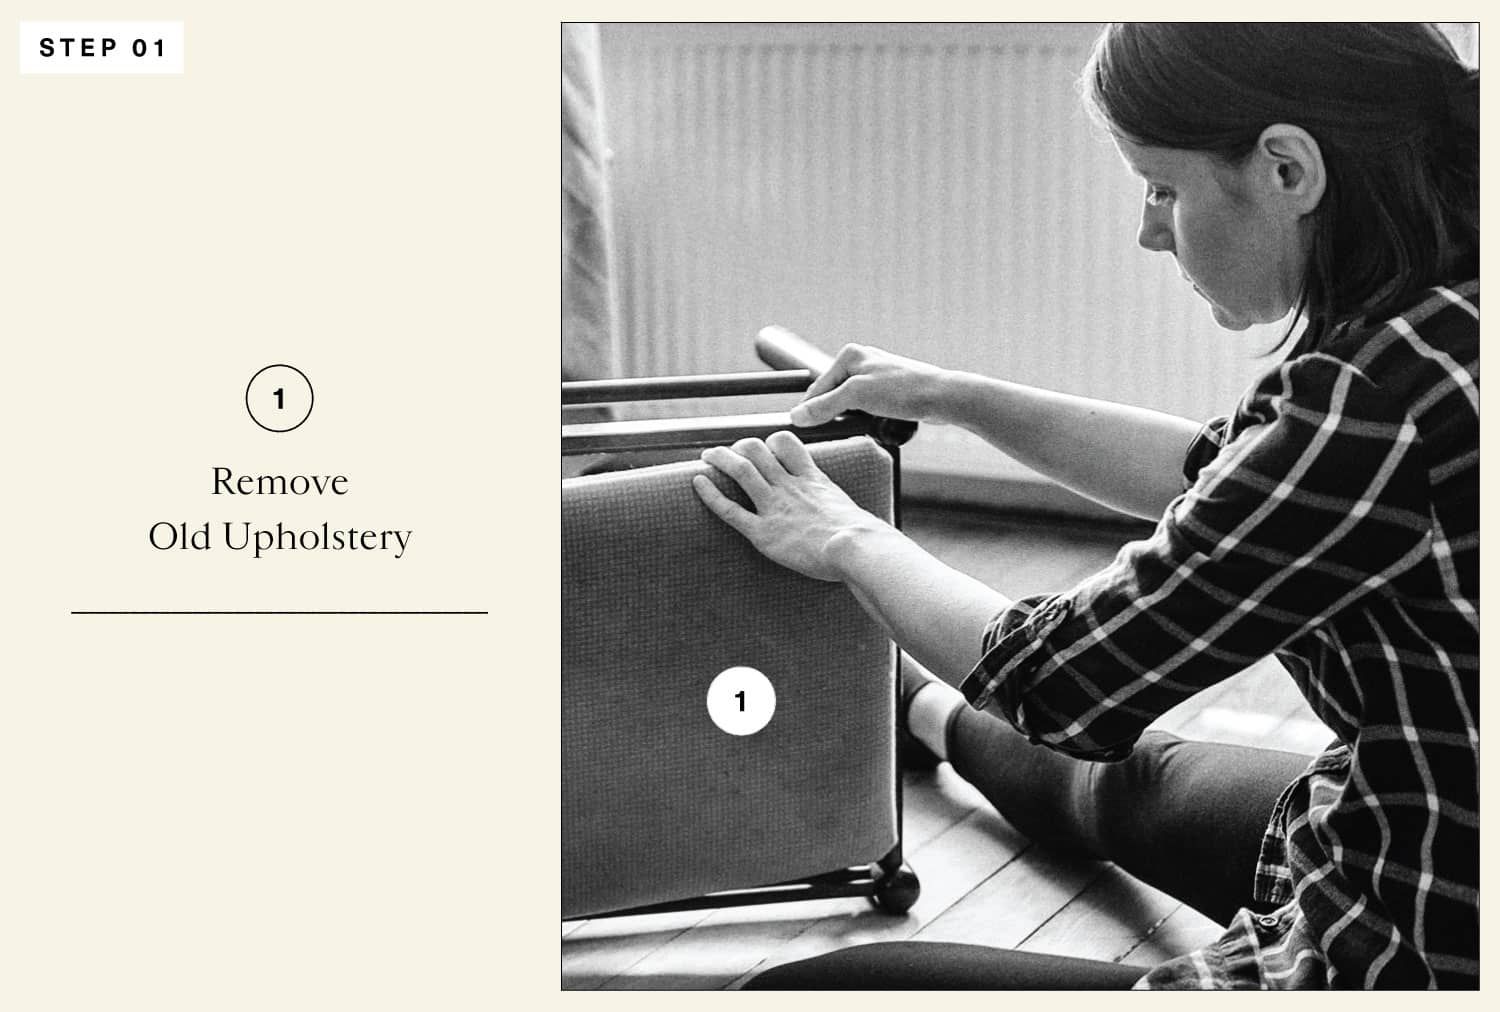
First, strip the chair down to the frame by removing the old upholstery. You may want to take pictures of the chair before you do this, to refer to later.
Start by detaching the seat. You may need to use a screwdriver or, if it’s held in place with staples, pliers. Turn the seat over, and take off the dust cover, if it has one. Remove the staples attaching the fabric to the seat, then the fabric itself.
Make sure to keep the old fabric to use as a guide when cutting your new fabric.
Step 2: Replace Seat Cushion and Batting
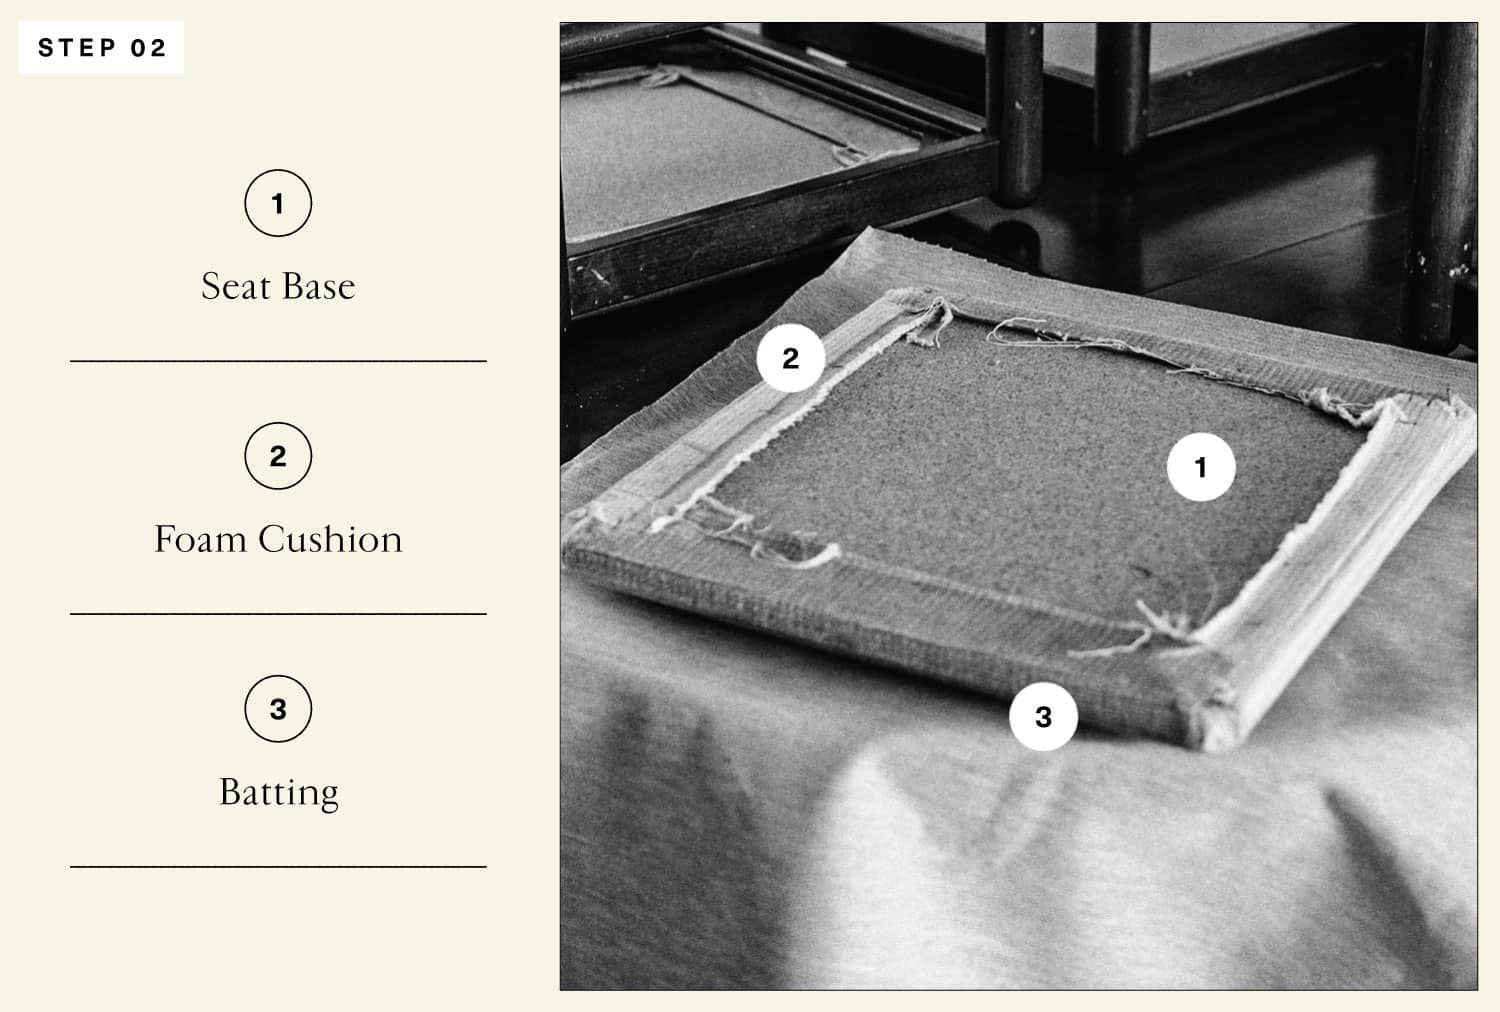
This step is optional, but with an old chair, it can be a good idea to remove and replace the old seat cushion and batting.
Once you have stripped the chair seat to its frame, trace its outlines or mark its dimensions on your one- to two-inch foam. Cut out the shape you’ve drawn using the serrated knife.
Next, cut your batting. This will sit on top of the foam cushion, acting as a buffer between it and the fabric. Make sure to cut enough to leave about two inches on each side of the seat.
Place the new foam cushion on the seat and cover it in the new batting, wrapping the batting under the edges of the seat. Turn the seat, cushion and batting over, and staple the batting to the underside of the seat. As you staple, pull the batting tight and neatly tuck in the corners.
Step 3: Add New Fabric

Use the old upholstery fabric to determine roughly how much new fabric you will need — make sure you have enough to leave three to four inches on each side of the seat to wrap under the edges. You can also use the old fabric to center and line up your new fabric’s pattern and grain on the seat.
Once you’ve cut your new fabric, lay it over the batting and staple it to the seat frame in the same way you attached the batting. Work carefully to keep the fabric’s pattern neatly aligned.
In stapling, start at the center of each of the four sides of the seat and work out to the edges, pulling the fabric taut as you go. Leave the corners for last. Fold the corners to create neat pleats before you staple them in place.
Step 4: Add New Dust Cover
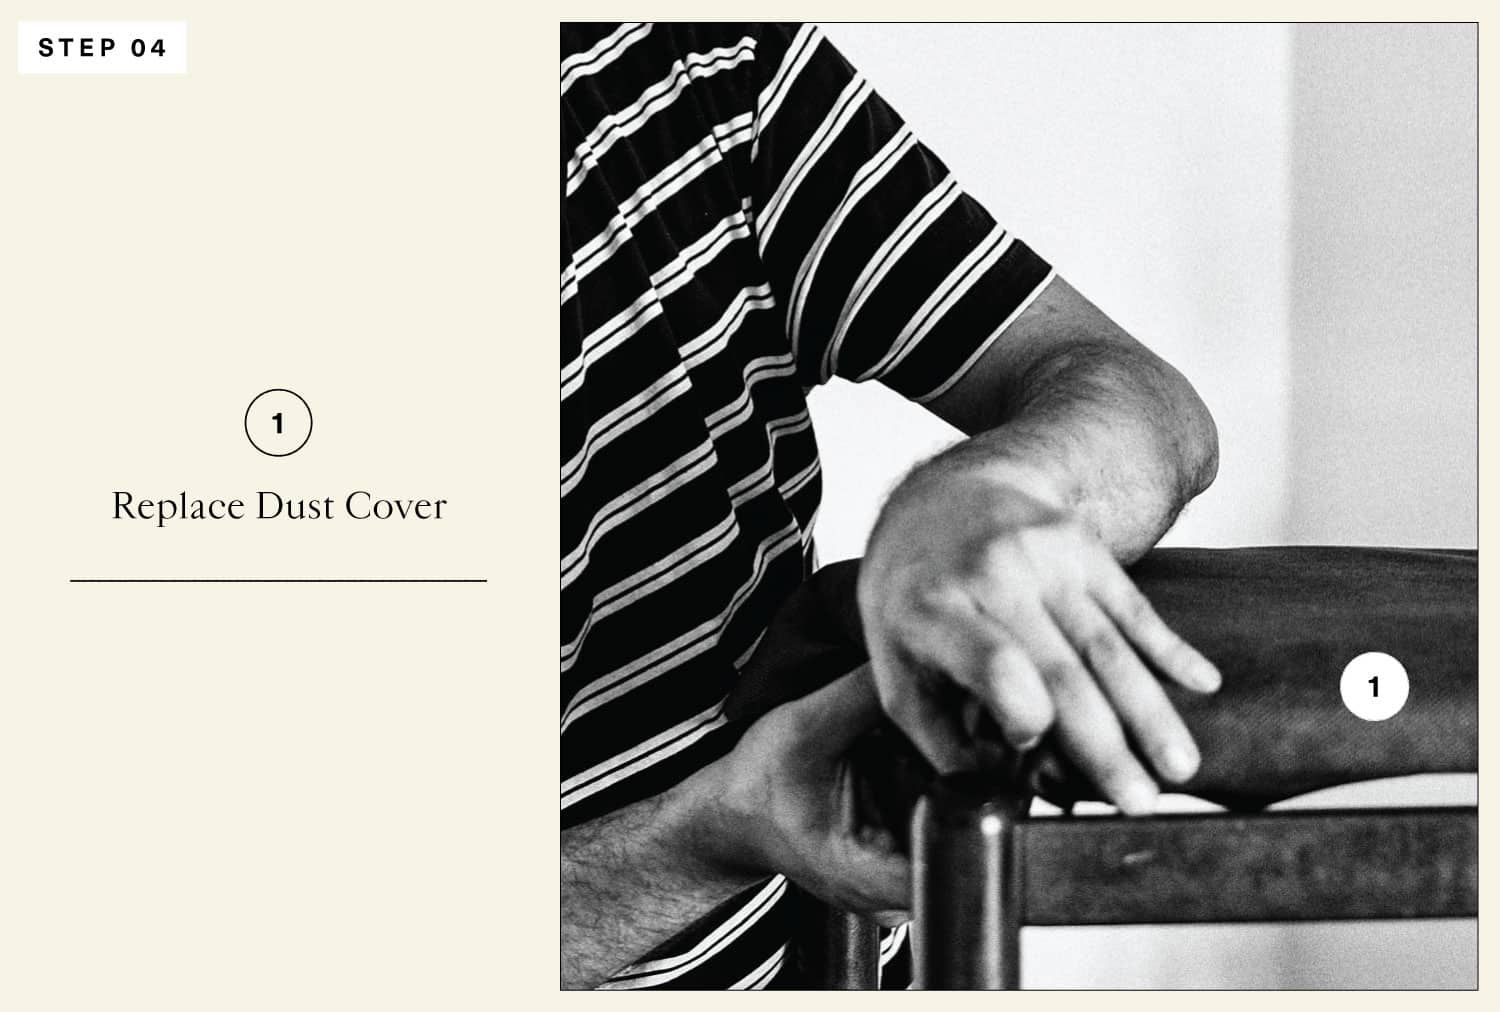
A dust cover will hide the upholstery fabric’s rough edges. If you want to add one, cut the black cambric to the seat’s dimensions and staple it to the seat’s underside. For a cleaner look, fold the sides of the dust cover under before stapling.
Reupholstering an Armchair
The process is more complicated and lengthy for chairs with upholstered arms and backs, such as armchairs. You may need a sewing machine, pins, markers and chalk in addition to the materials listed above, and it will likely take several days to complete.
As you disassemble an armchair, make a note of where each element goes and how it is attached. Similarly, as you remove the old fabric, label each piece with its location and orientation. Then, transfer these labels to the new fabric pieces with chalk to guide you in placing them.
When placing the new fabric pieces on the chair, use pins to hold them in place. Pulling them taut, use the staple gun to attach them to the chair frame, then trim the excess. Step back frequently to see if the fabric is correctly oriented.
Piping
Chair upholstery often includes piping, also known as welting. This is a cord covered in fabric that lies along the seams of the upholstery, producing a polished look. If a chair you are reupholstering has piping, you will need to replace it.
Remove the old fabric from the cord, and sew the new fabric onto it. Then, either staple or sew the refurbished piping to the new reupholstery along the seam where it was before.
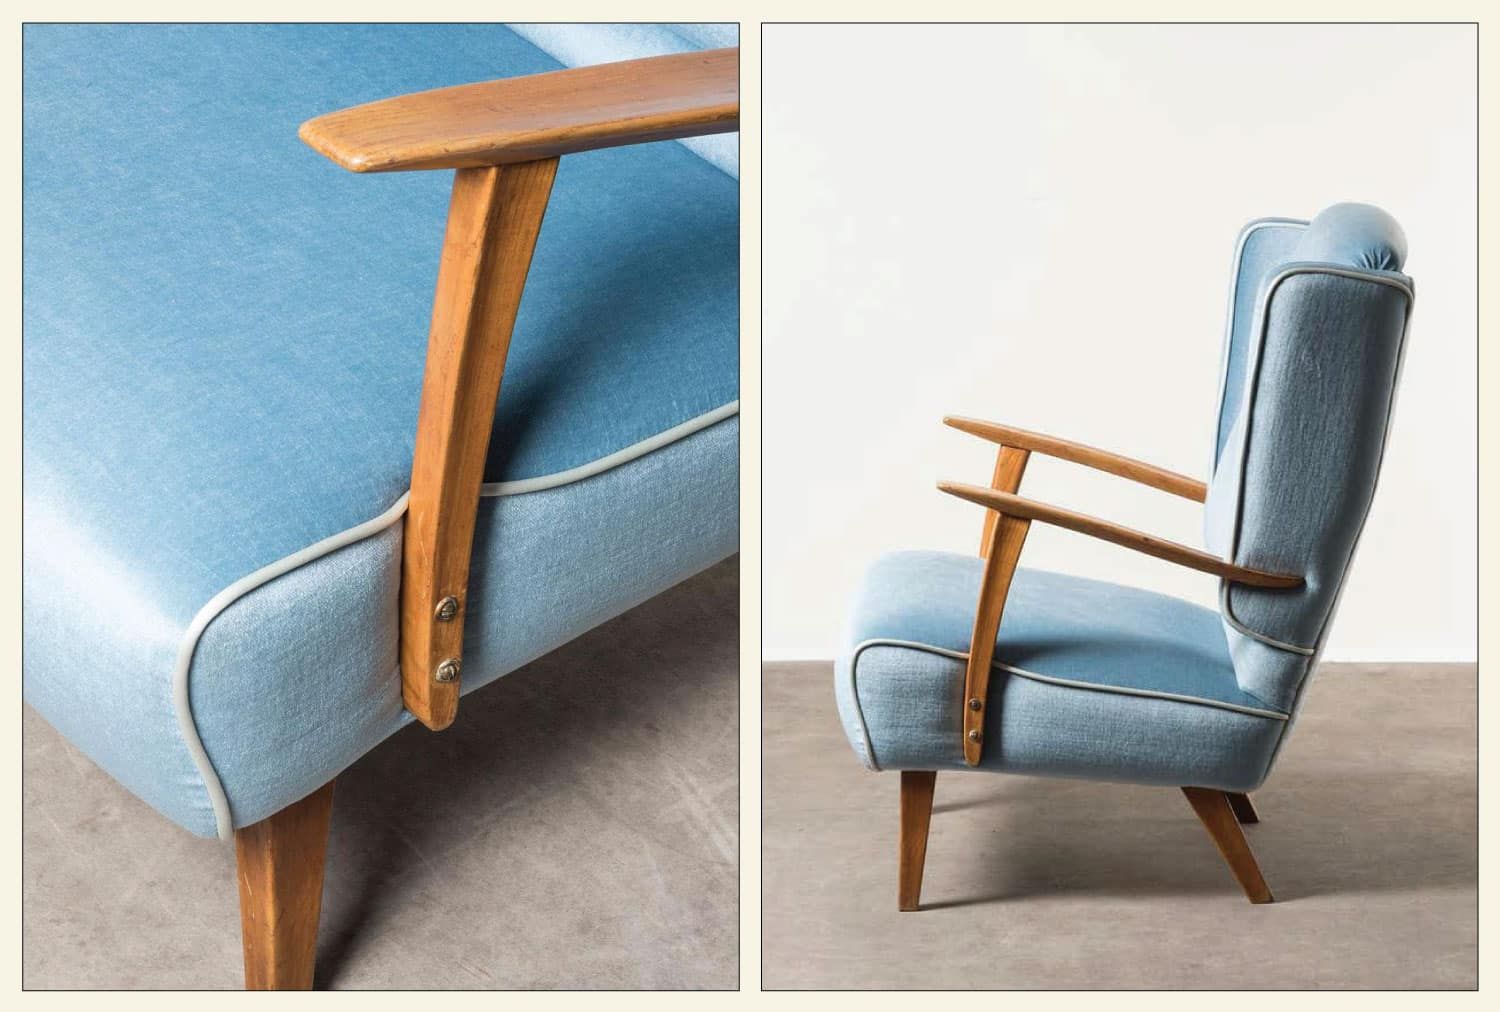
How to Reupholster Chair Arms
In reupholstering a chair arm, there are several things to keep in mind.
As with the seat cushion, remove the fabric, padding and batting, and keep the old fabric to use as a guide in cutting the new fabric, making sure you have enough to fold a few inches under.
When you disassemble the arm, pay attention to how it is constructed and how the fabric is attached. If it has a face or frontward-facing panel, you will need to account for that. For the best result, sew the fabric piece for the face to the pieces for the sides, then attach them all together to the chair frame and staple in place.
How to Reupholster a Chair Back
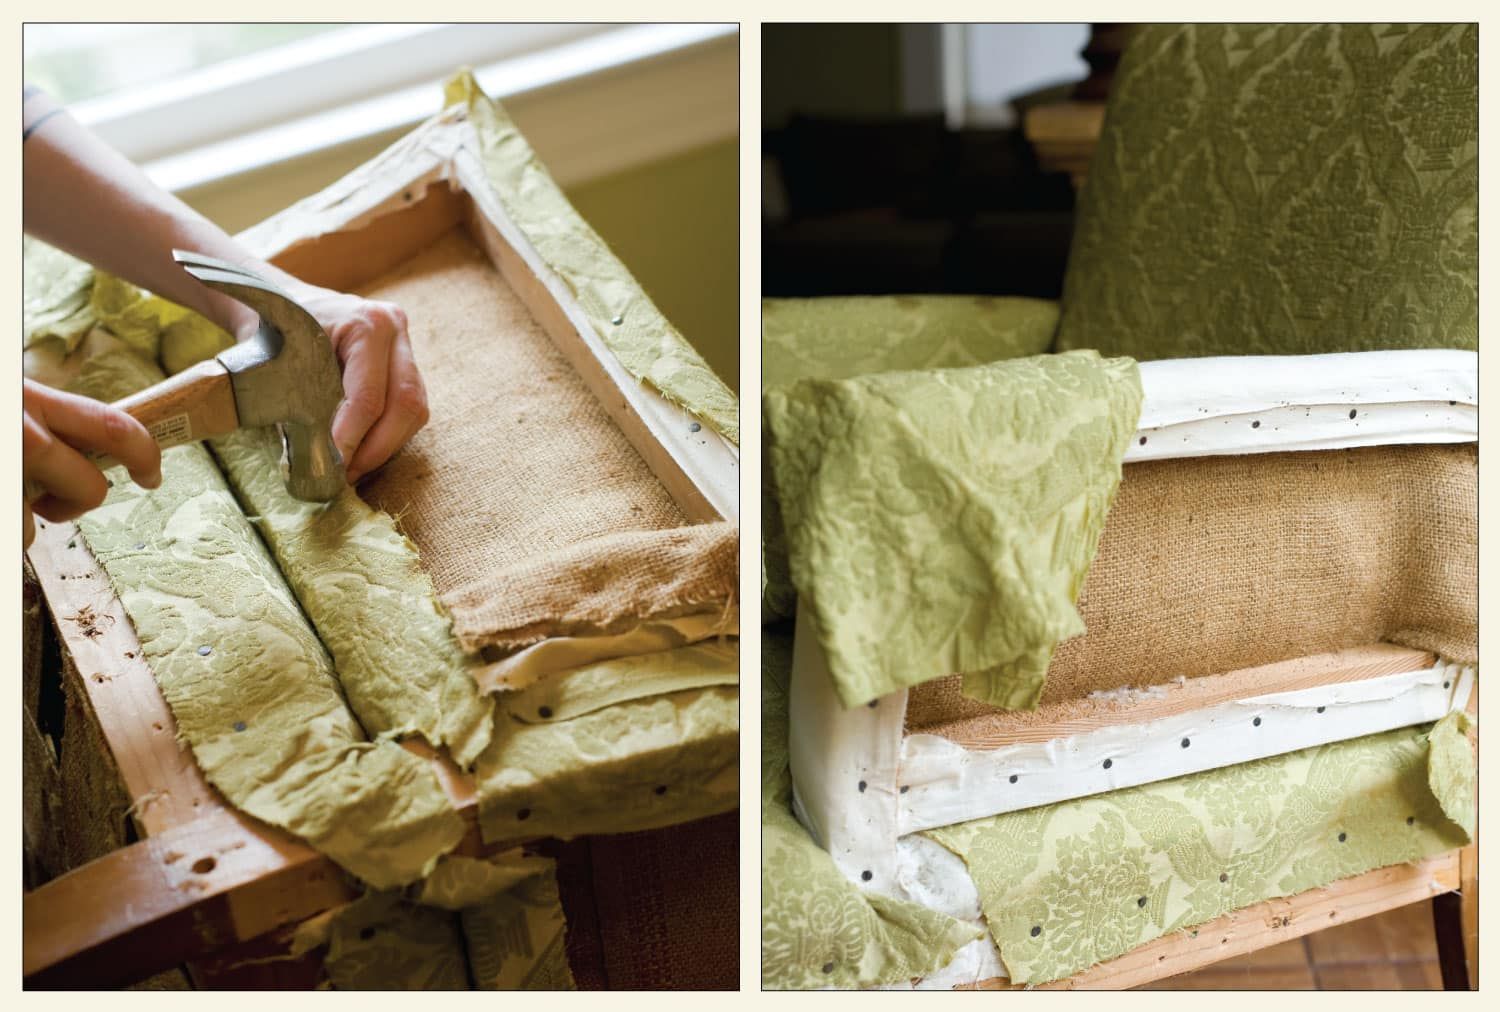
Flexible metal tack strips, also known as ply grip, are useful for securing fabric in place along the curved edges of a chair’s back and arms. For the back, first attach a layer of batting. Then staple the tack strip along the back’s edges, and lay the fabric over the batting.
Tuck the fabric into the tack strip, fold it neatly in place and then hammer the tacks closed. The tack strip shouldn’t be visible when you are done. To finish off the seams and create a polished look, you might want to add piping.
Advanced Upholstery Tools
The following tools may be useful when tackling more complex reupholstery projects:
- An electric stapler is fine for simpler reupholstery, but for more difficult jobs, it is worth investing in a pneumatic stapler, which is more powerful and precise.
- Slip joint pliers are cheap and effective at stripping upholstery from chairs.
- Mallets are useful for removing difficult staples and securing new ones in place. They can also be used to pound in tacks, as can tack hammers.
- An upholstery regulator, which looks like a thick metal needle, is good for smoothing out layers of batting and fabric to create a clean look
Expert Advice and Examples
Reupholstering high-end pieces is an art. We spoke to experts Peter Blake and Annie Genovese to find out how they approach the process and address its greatest challenges.
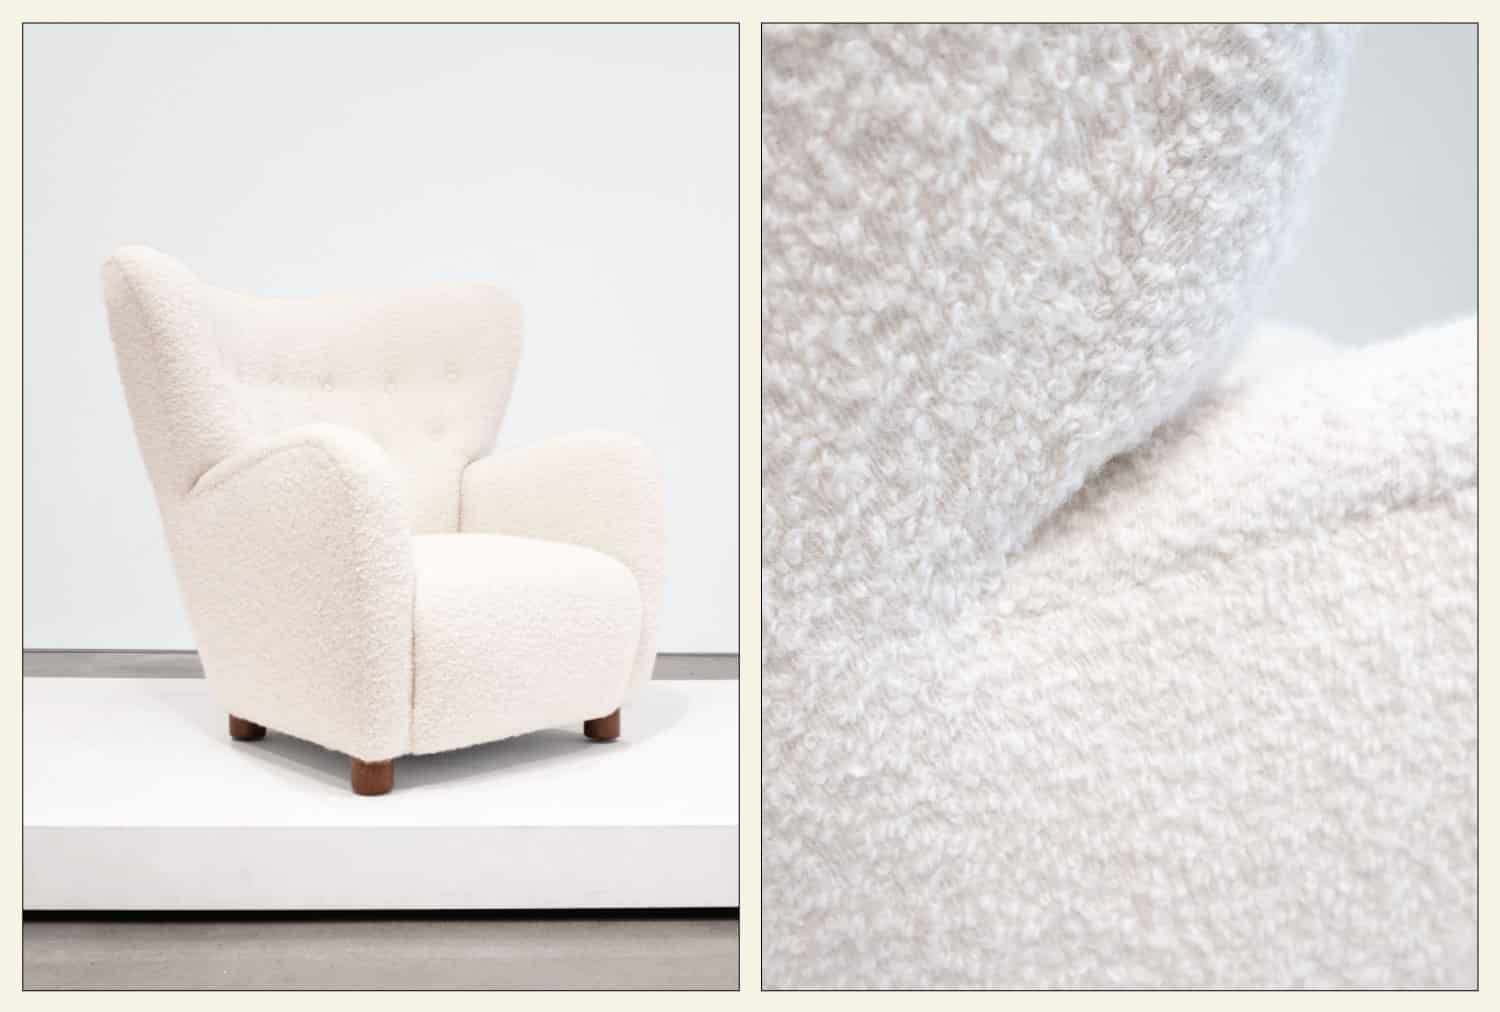
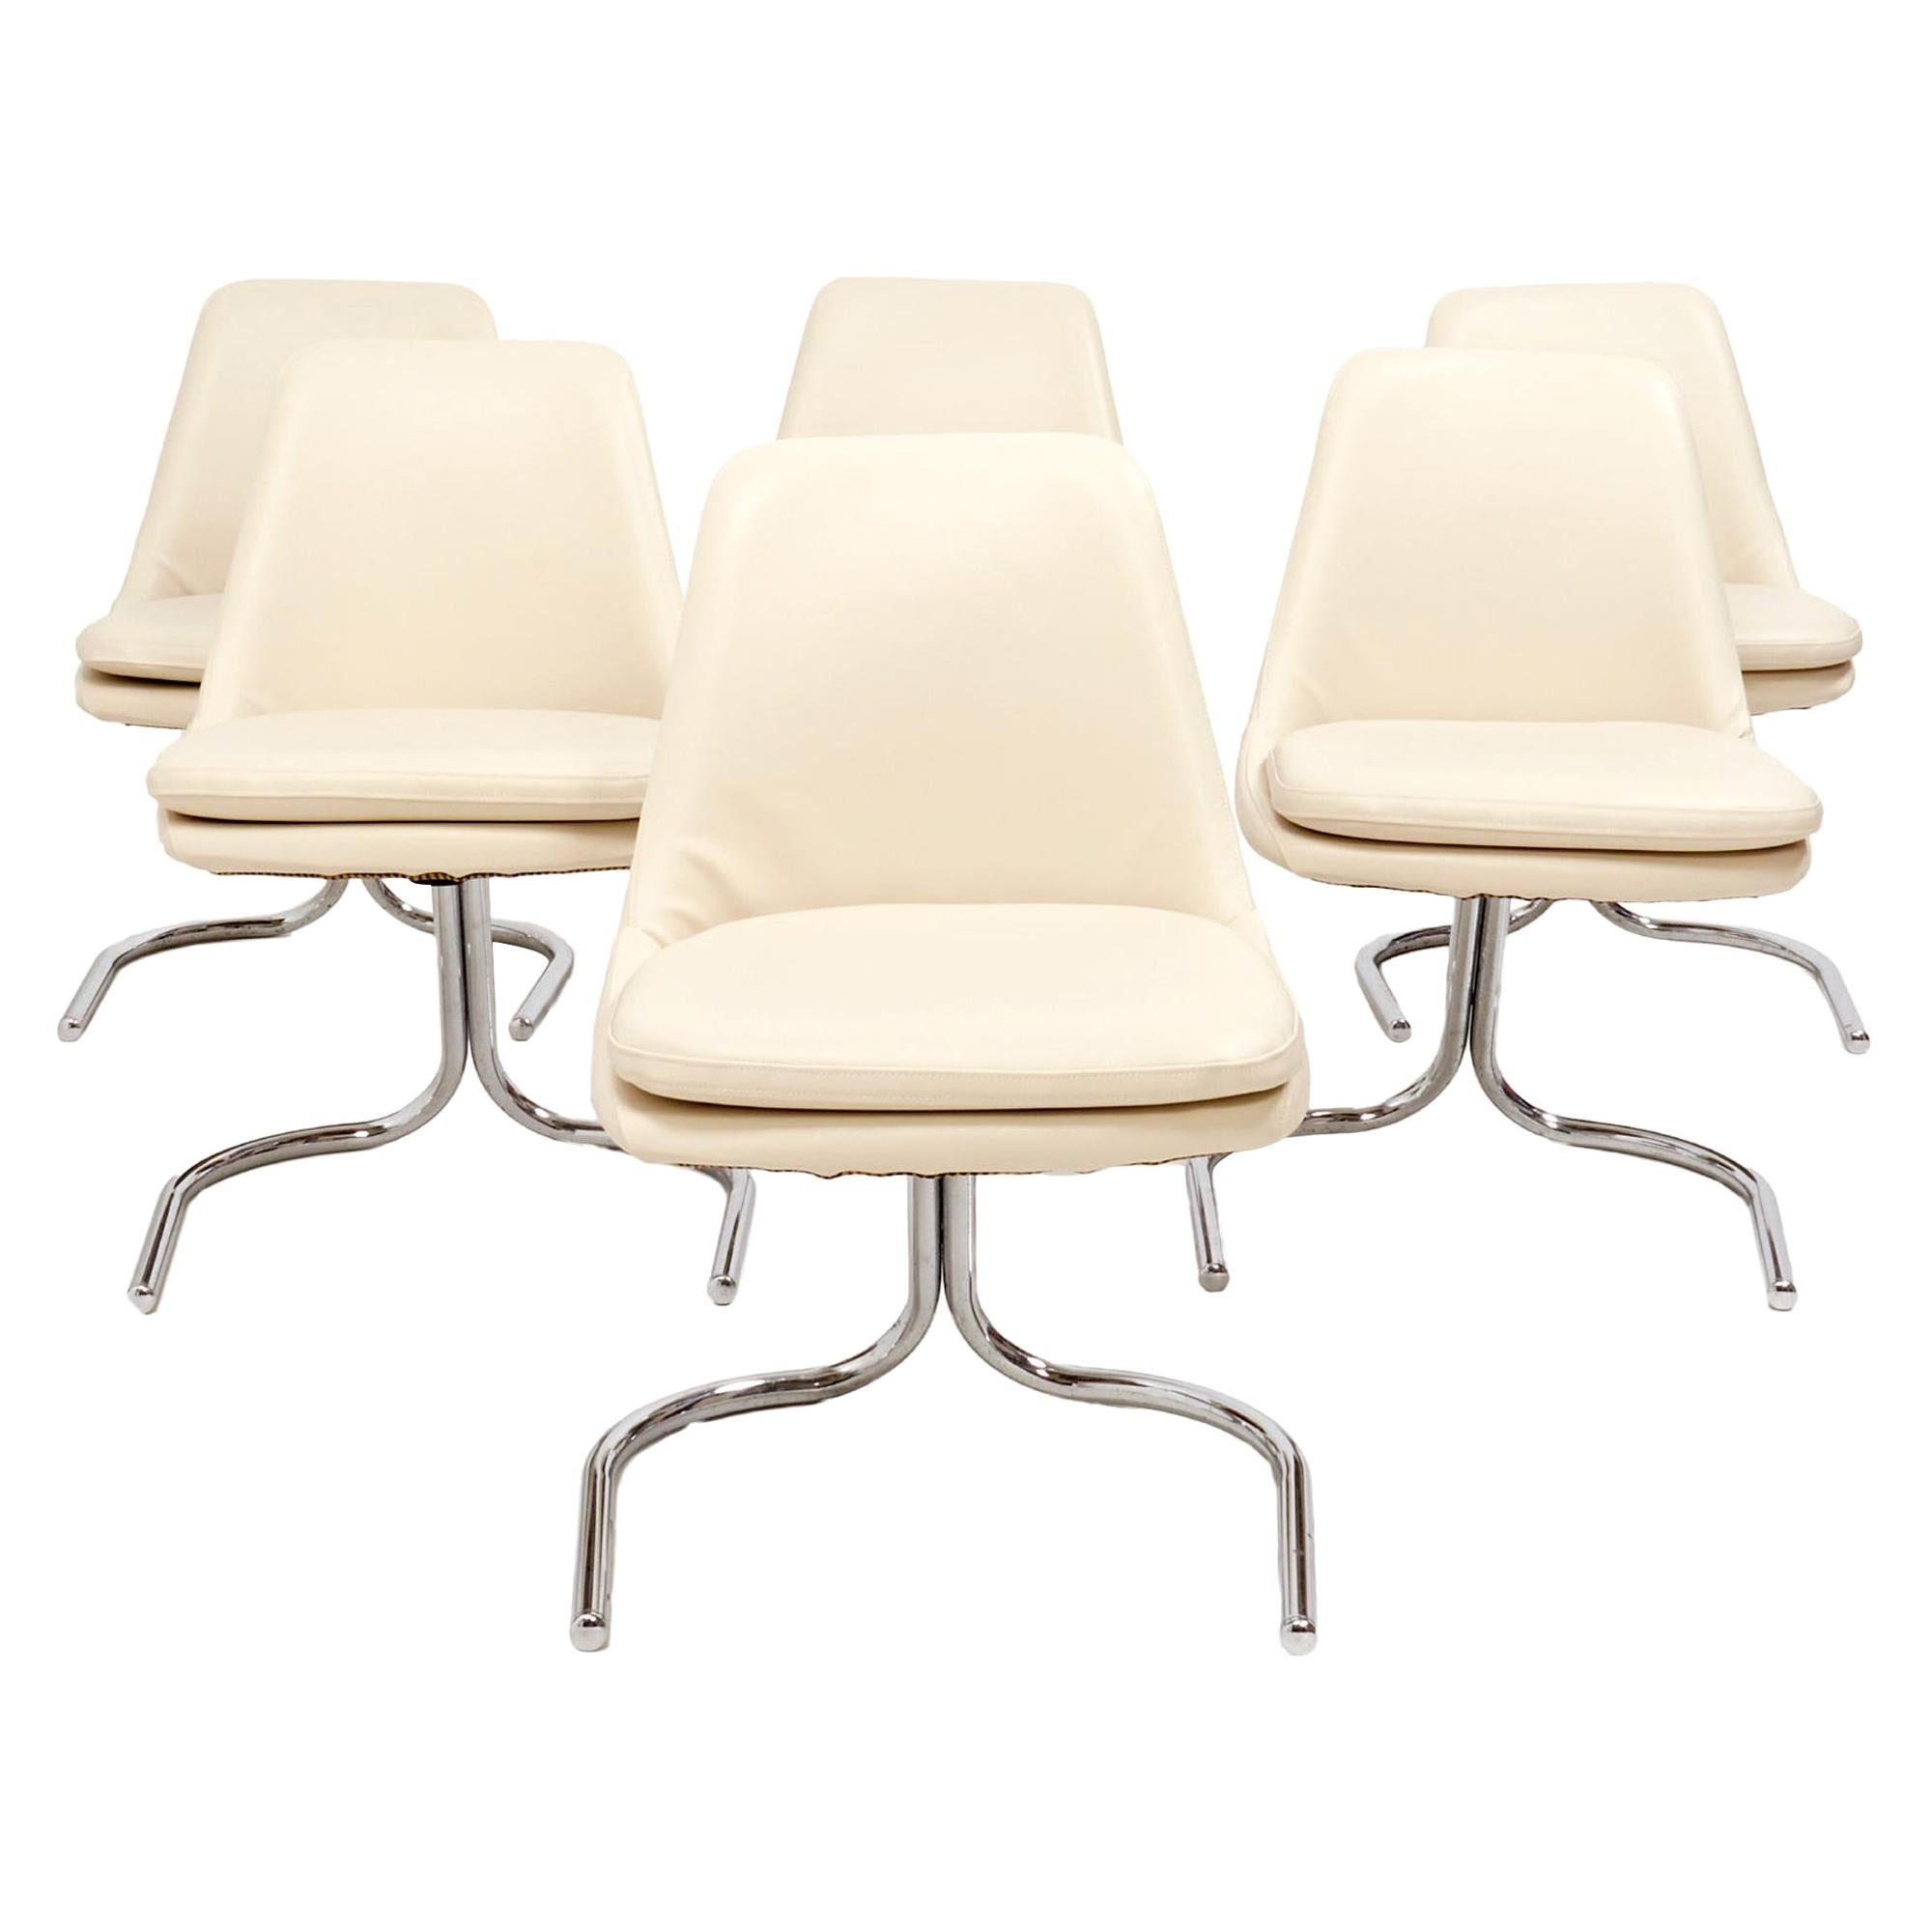
Peter Blake Gallery deals in modern and contemporary art, with a particular focus on California modernism. Its owner, Peter Blake, walked us through how he chooses the perfect fabric for reupholstering iconic chair designs.
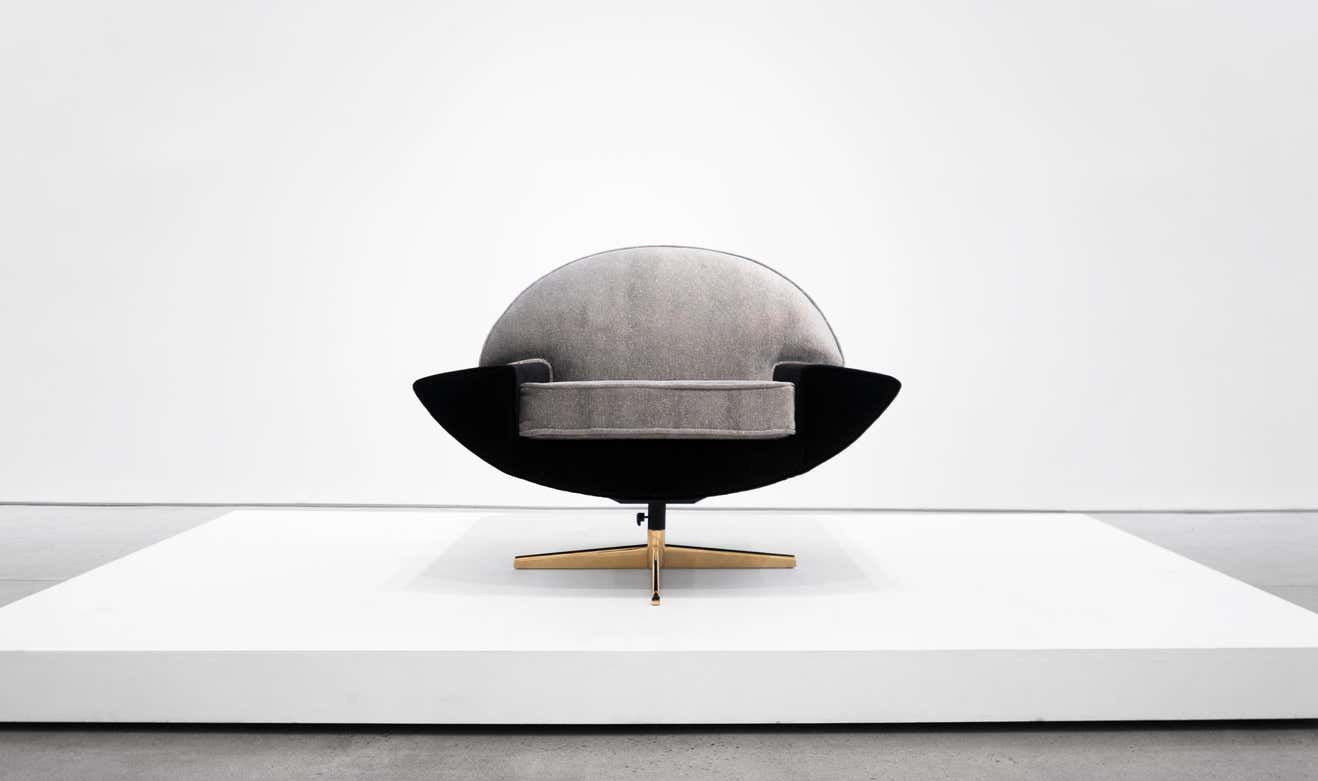
“The most difficult challenge is finding a fabric that not only complements the design of the item but accentuates and elevates it,” he says. “The first step in reupholstering an item is allowing the design to do the talking. There are certain items that can use more expressive upholstery. However, there are also certain items that are best left alone. The collectible design items that we exhibited at the Palm Springs Modernism Show are iconic designs that we didn’t want to detract from.”
For the chair above, Blake explains, “we specifically chose Sandra Jordan’s prima alpaca bouclé in ivory, as it allows the beauty of the design to shine through. It is an organic yet luxurious fabric that is incredibly versatile and allows the design to speak.”
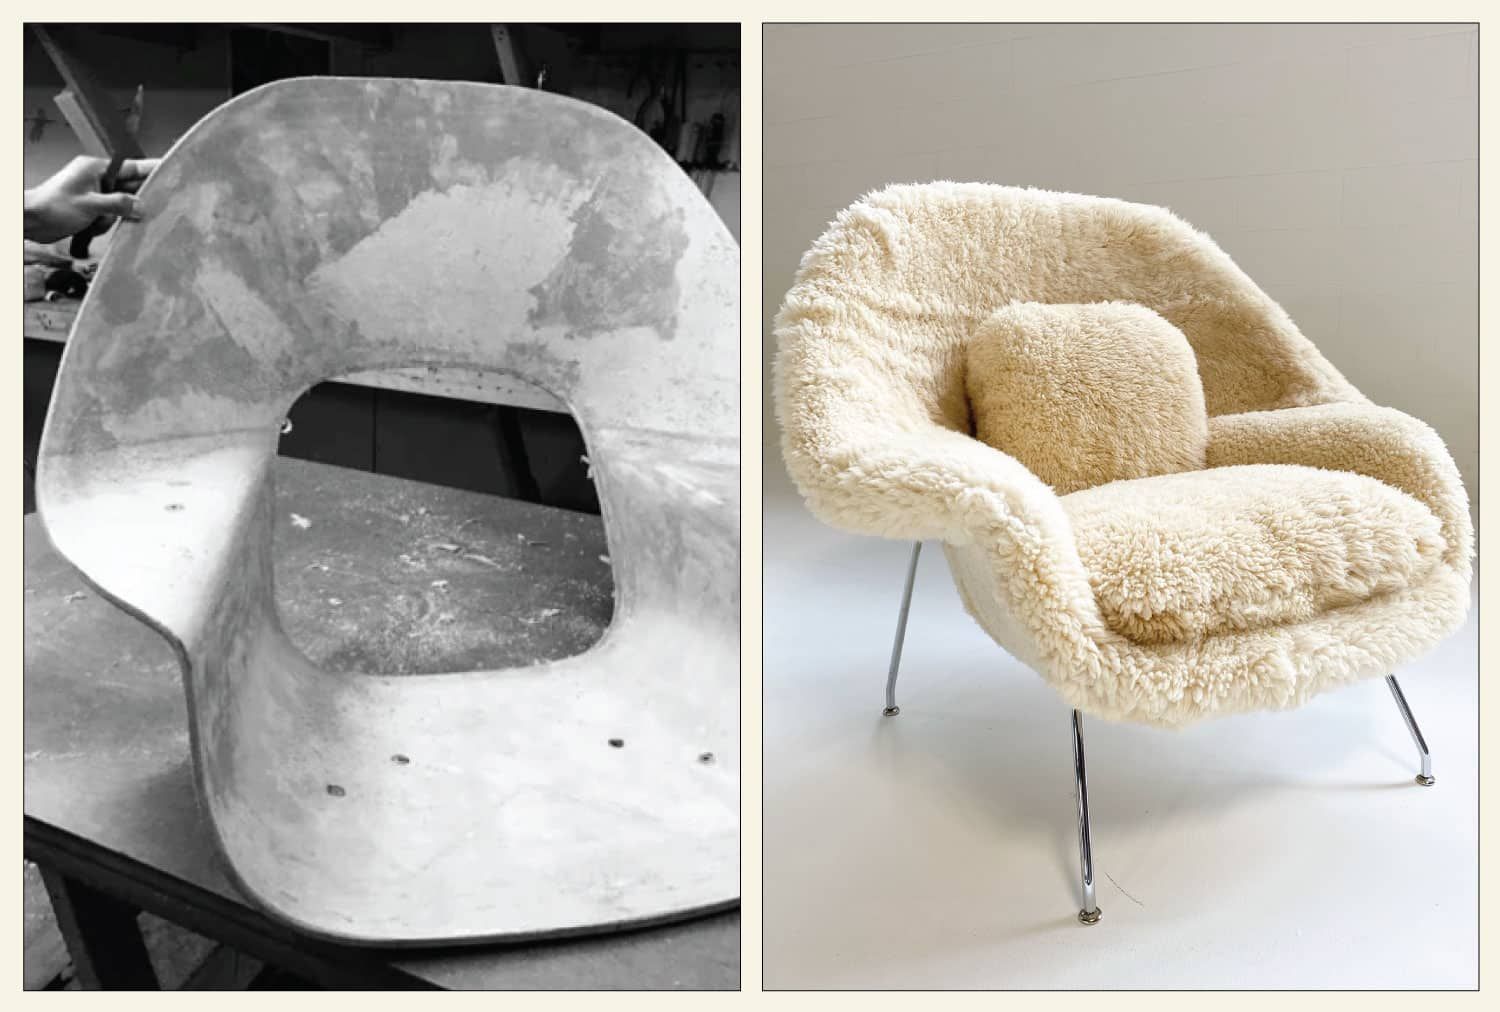
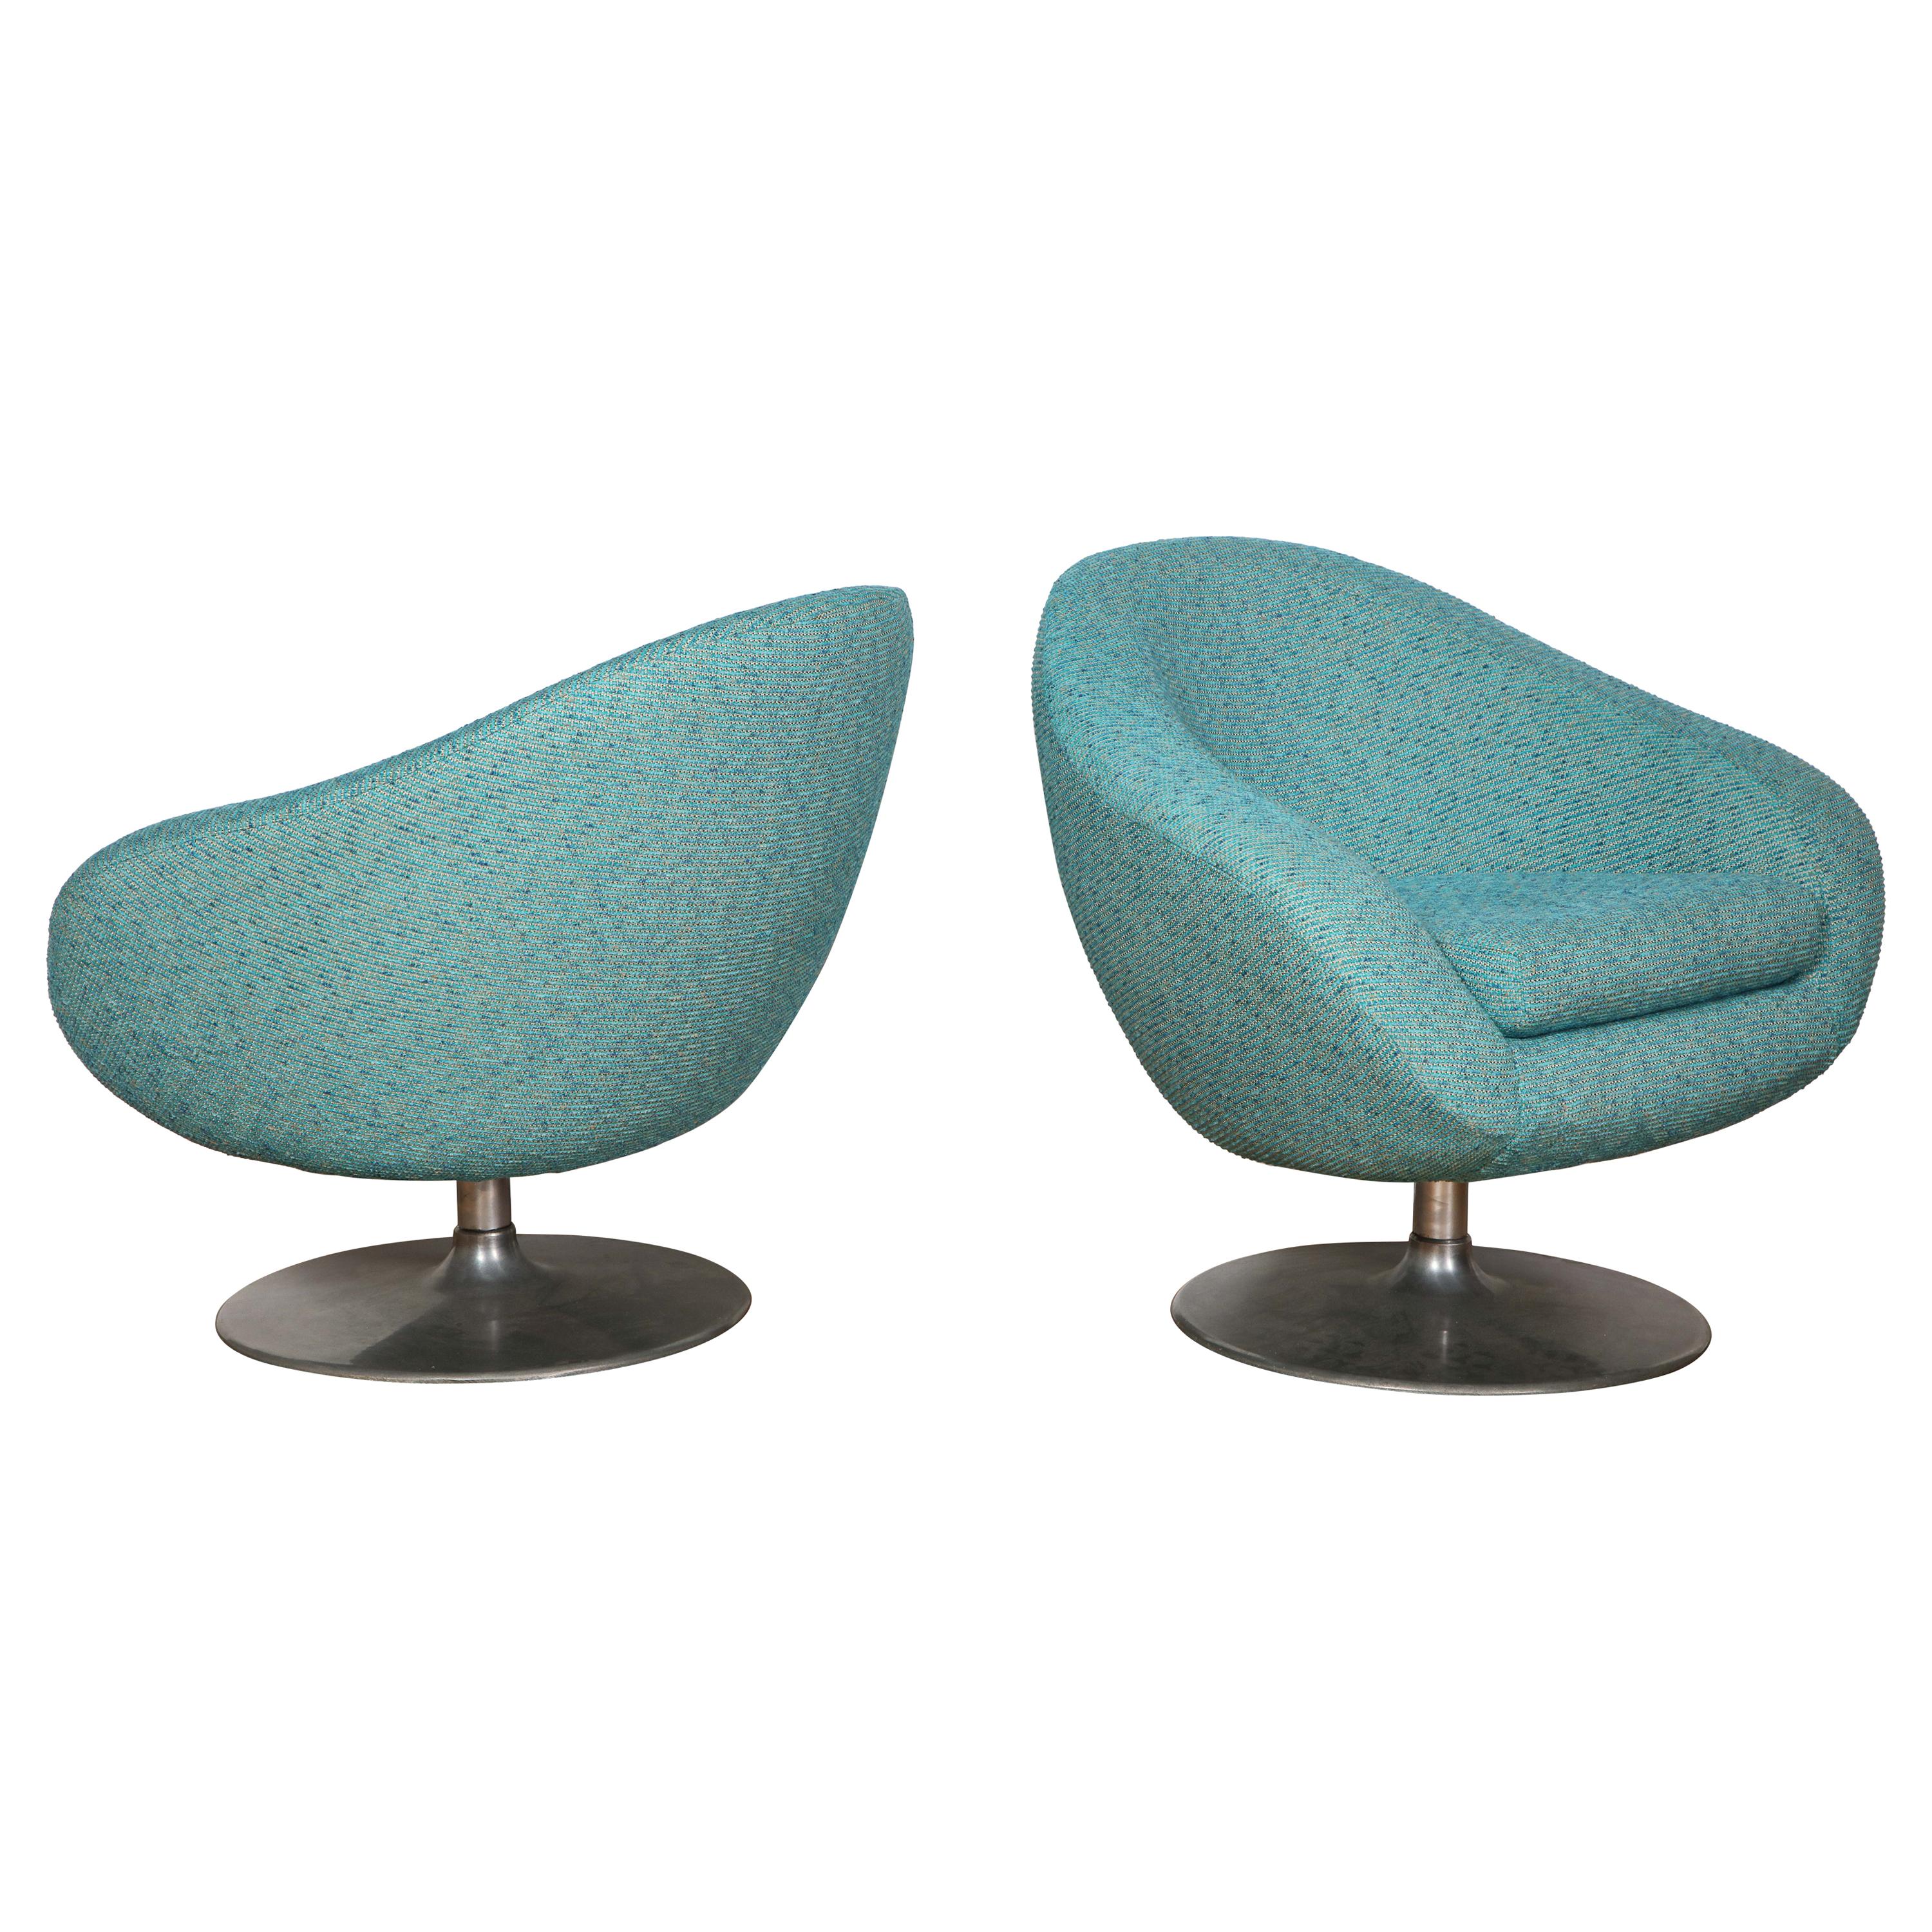
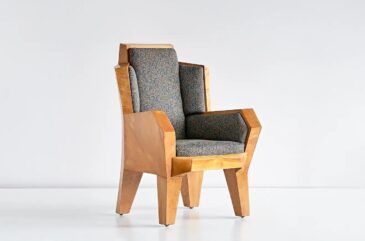
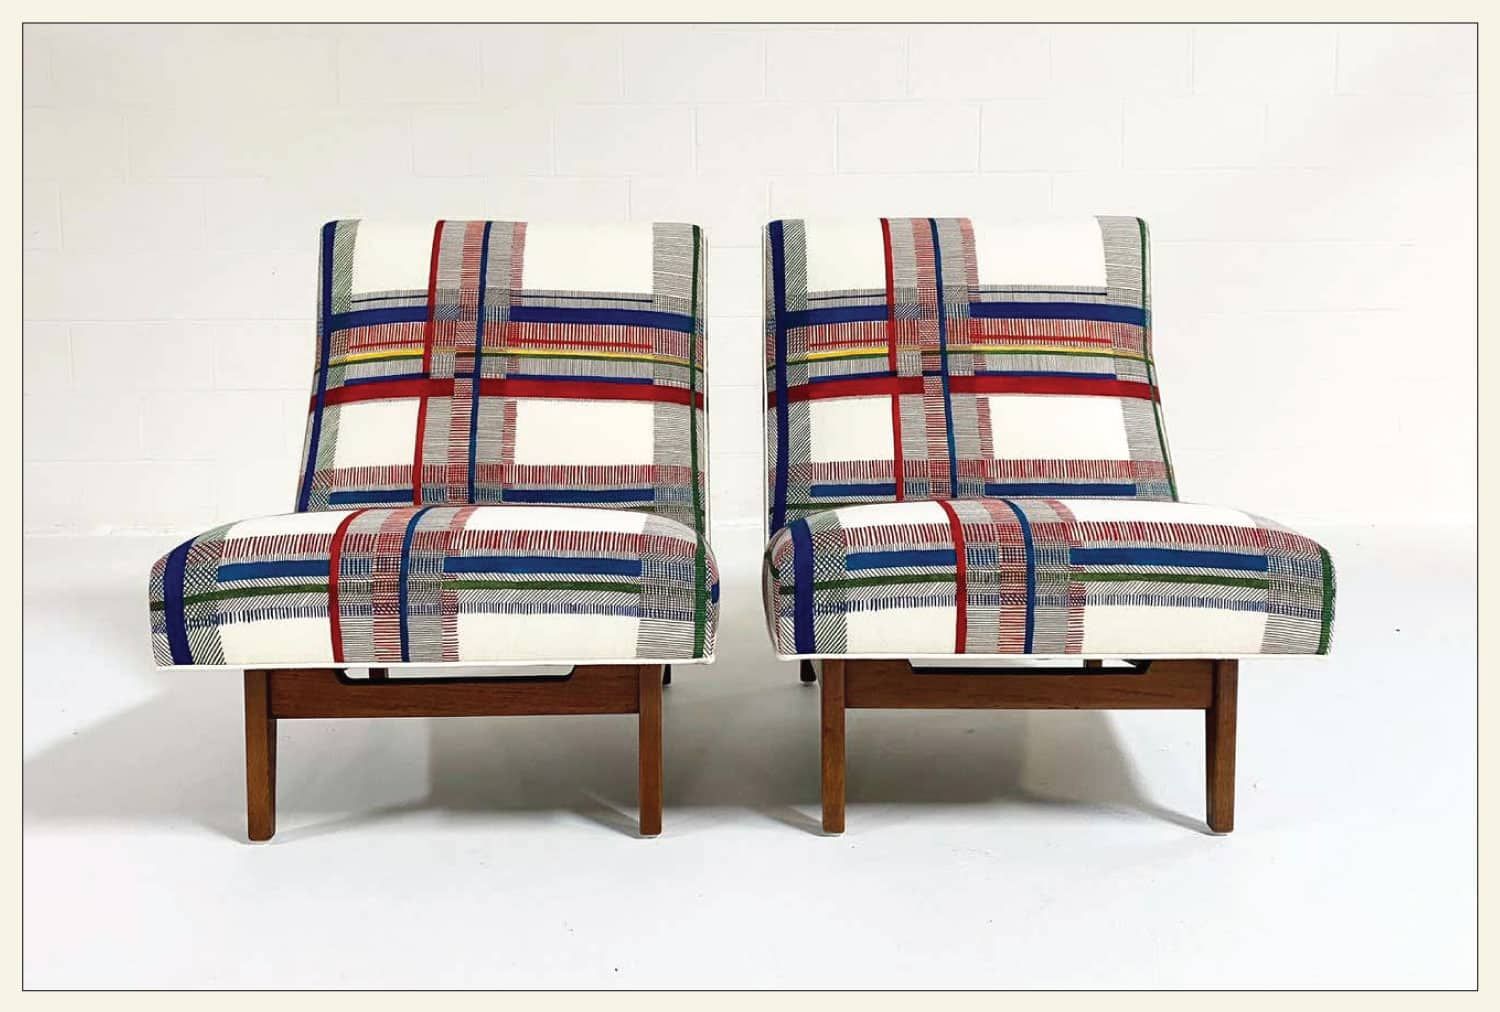
In St. Louis, Forsyth gallery creates bespoke upholstery work. Its upcycled Womb chairs, like the one above, are among its most popular designs.
“Our ultimate goal with reupholstery is to give the vintage designs we acquire a second life,” says Annie Genovese, Forsyth’s creative director and cofounder. “We like to consider what we do as a form of recycling, but of course, in a most luxurious manner.”
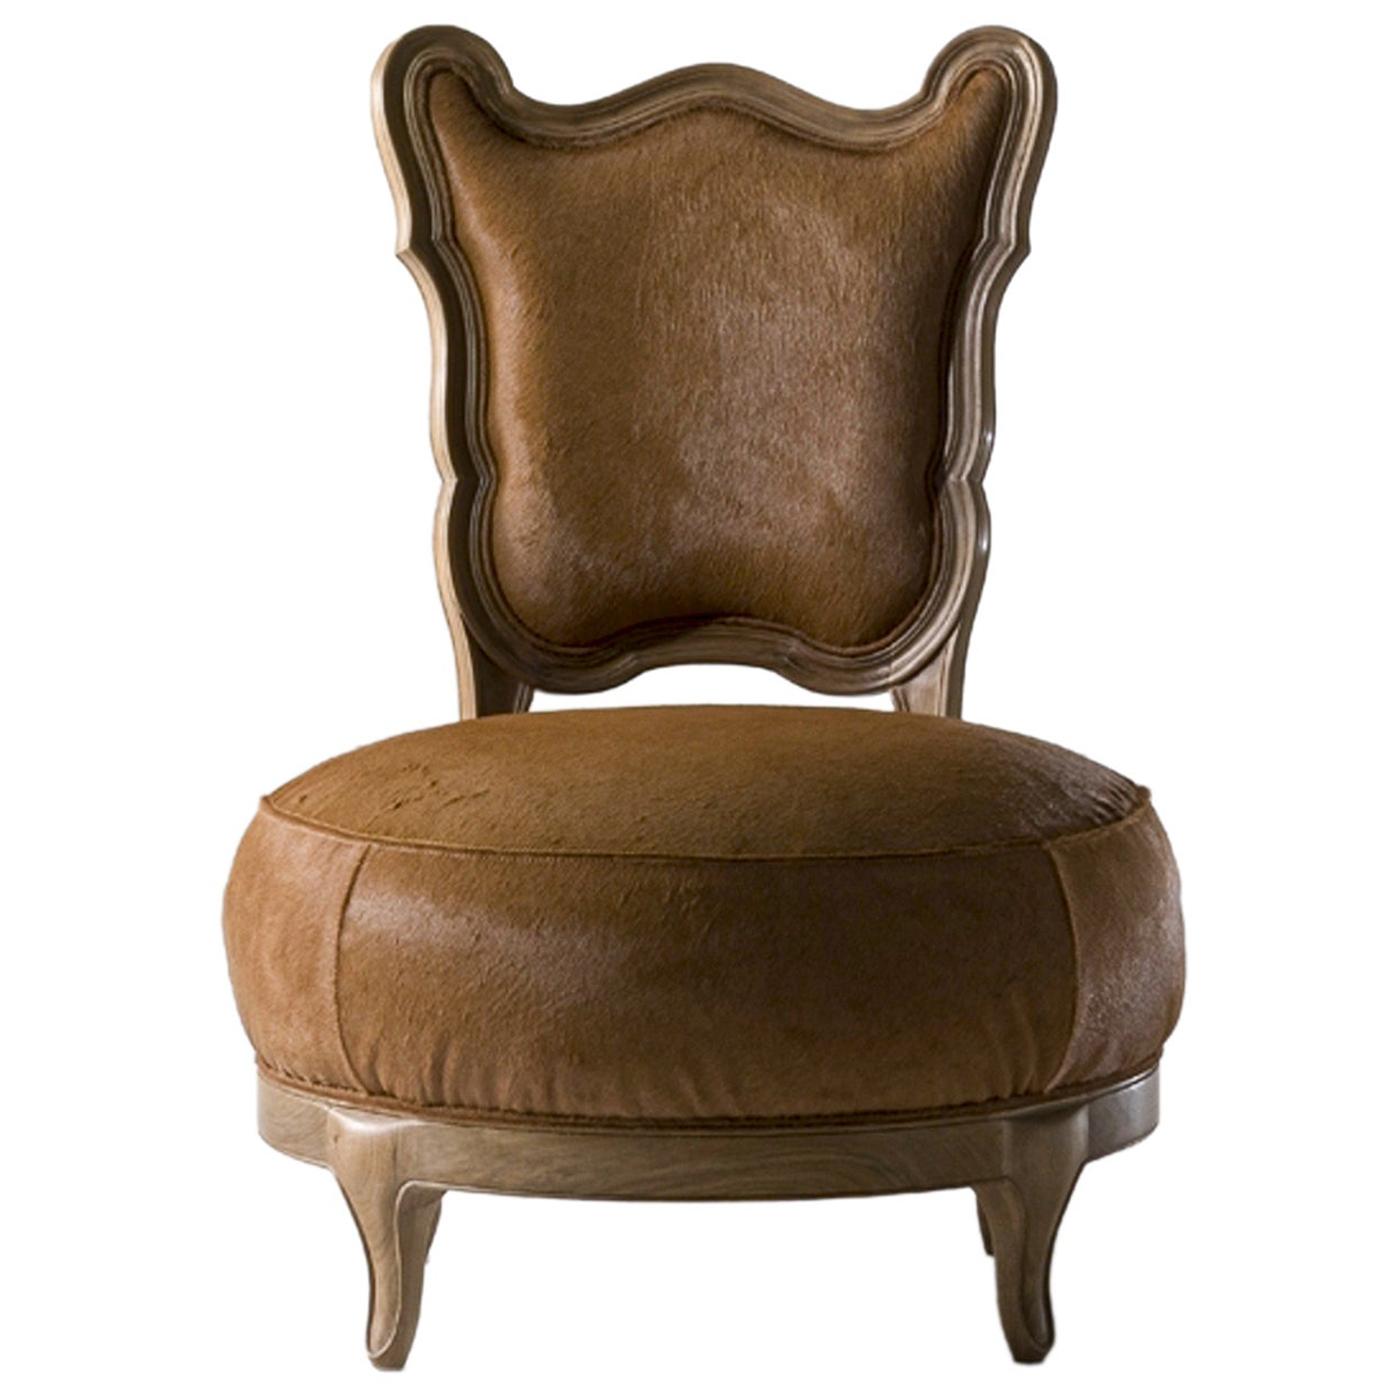
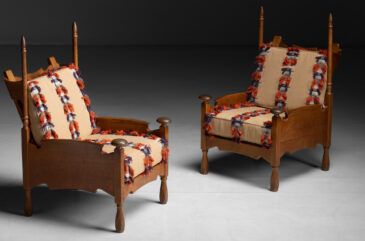
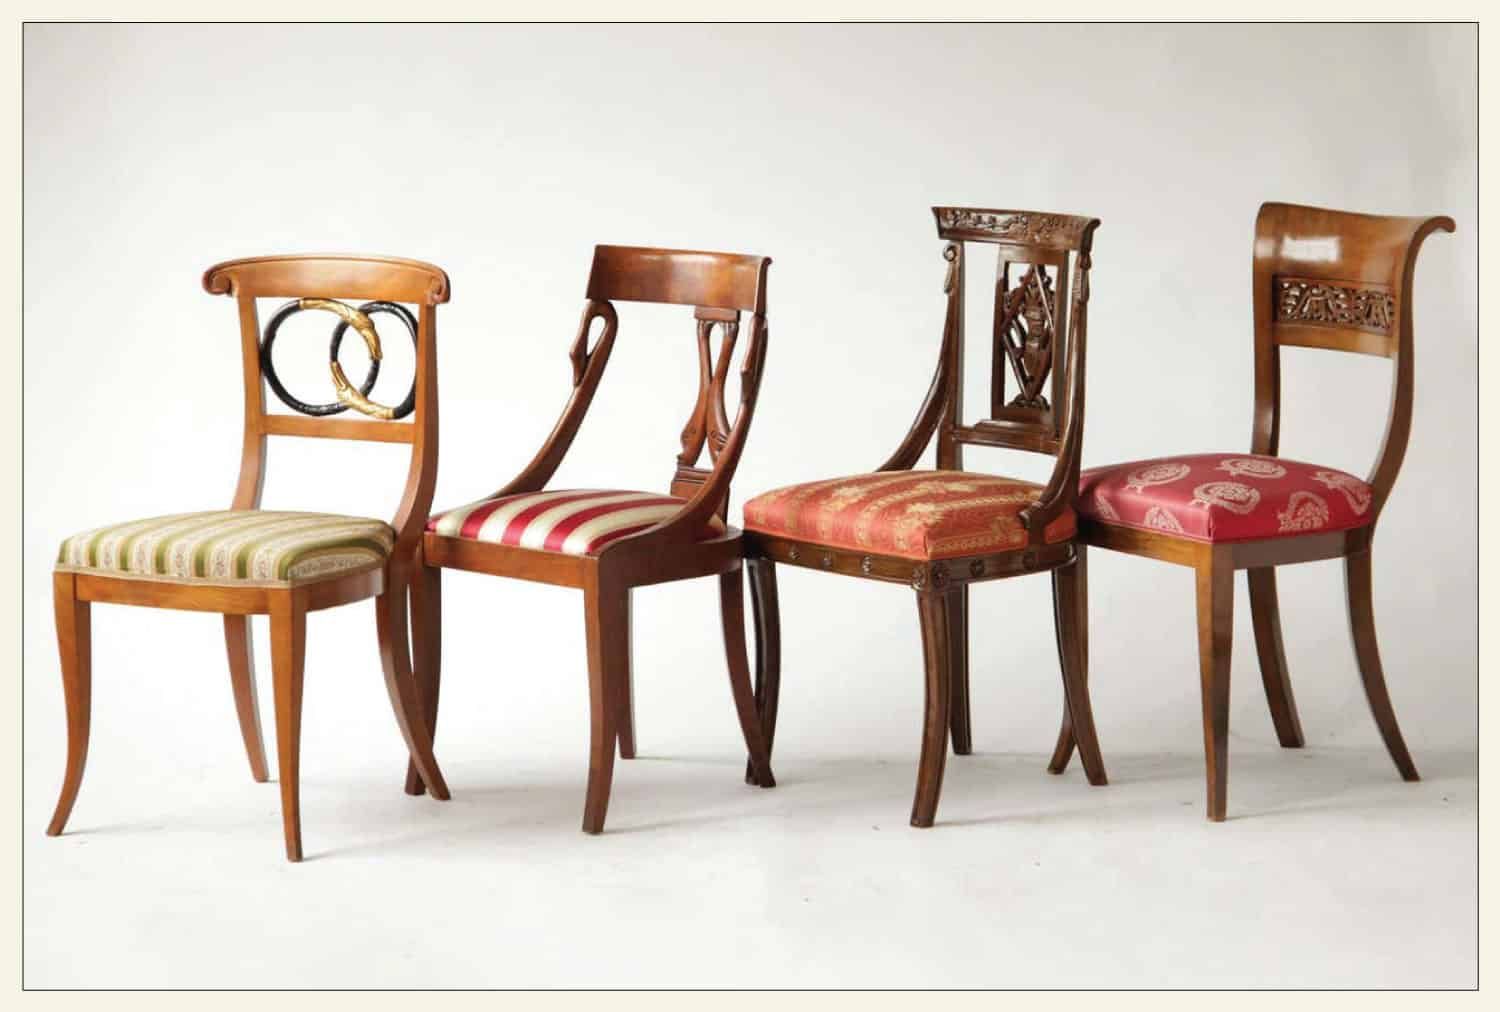
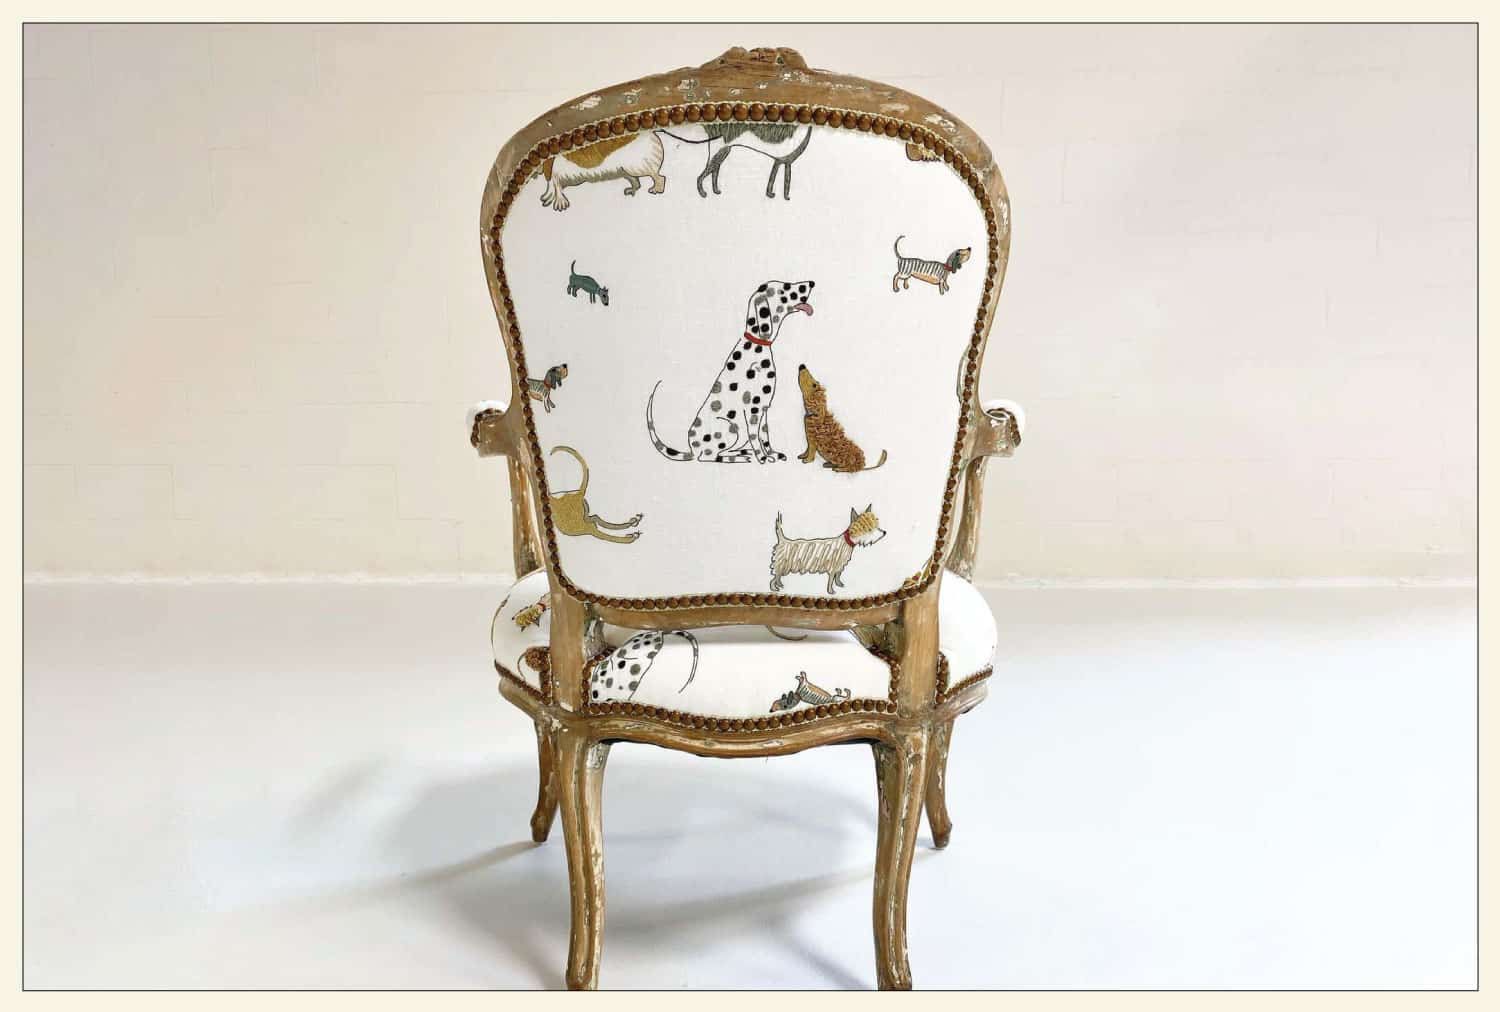
“When choosing a fabric, the majority of the time, we have to choose something that can work in a lot of different styles and environments,” she continues. “This is one of the reasons we have made a name for ourselves using natural hides. They are beautiful, durable and, in most cases, are neutral in color. Natural hides add texture and can work in virtually any space. Hides are a bit more difficult to work with on a chair, since they are thicker than fabric. Of course, a fabric may come along that we just have to use. But it’s fun to take a gamble every once in a while. As with this Biedermeier piece!”
Genovese explains that working with vintage pieces can be especially challenging. “On some occasions, it takes a lot of elbow grease and hours to restore an older piece back to its former glory,” she says. “Most often, the bones of older produced pieces are still very good. Chairs were built to last back in the day. So it is always worth it when a piece is finished.”
Reupholstery FAQ
Below, we answer some frequently asked questions about reupholstering chairs.
1. Can I reupholster a chair myself?
If the furniture frame is in good condition and you have the right tools, it is completely possible to reupholster a chair yourself. However, every chair is different, and if you are inexperienced and working with a valuable piece, it is best to contact local upholsterers to get their opinion.
2. How much does it cost to reupholster a chair?
The cost will depend on the type of chair, how much fabric you need and the quality of the fabric you select. Reupholstering a simple dining chair can be relatively inexpensive, from $50 to $100. Armchair reupholstering can cost upwards of $800. A leather chair will likely be the most expensive, running up to $2,000.
3. How do I determine how much fabric I will need?
It’s a good idea to strip the old fabric from the chair and measure it before purchasing new fabric. Remember to add about four inches to give yourself some leeway.
4. Can you reupholster a chair without removing the old fabric?
Yes, you can simply place new fabric over the old. But first, make sure the old fabric, batting and seat don’t need to be replaced. It is usually better to redo the old upholstery entirely to keep the chair in pristine condition. Alternatively, you can purchase or make a removable slipcover.